
Create a Roleplay Agent from a LinkedIn Profile
Outdoo AI can build a roleplay agent persona directly from a prospect's public LinkedIn profile, reflecting that person's job title, seniority, company background, and likely priorities.
Watch: Create a Roleplay Agent from LinkedIn (Step-by-Step)
When to use this method
Use a LinkedIn profile when you want a persona built around a specific person you are preparing to talk to, rather than a generic buyer type. This is useful for:
- Outbound prospecting into a named account
- Account-based selling where you already know the stakeholder
- Executive conversations where seniority and communication style matter
- Multi-threading prep, building a separate agent for each stakeholder in a buying committee
Steps to create from a LinkedIn profile
Step 1: Open the creation page
Go to Practice > Roleplay Agents, click Create Roleplay Agent and choose Create Single Agent.
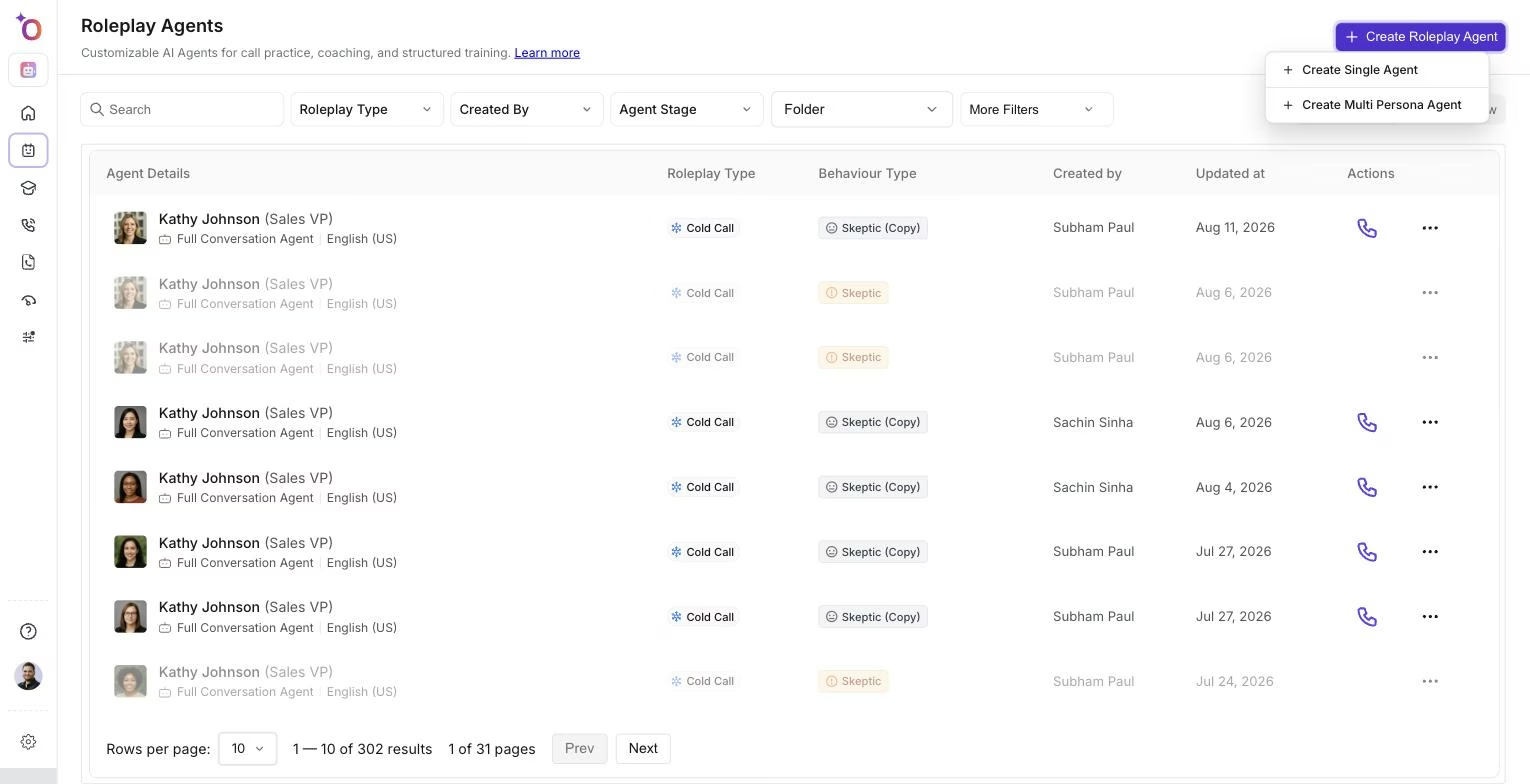
Start a new agent from the Create Roleplay Agent menu.
Step 2: Choose the roleplay type and scenario
Above the prompt box, pick the Roleplay Type (for example, cold call or discovery) and the Scenario the persona should be built for. Both are required.
Step 3: Provide the profile
Click Create from > LinkedIn, paste the URL into LinkedIn Profile URL and click Submit. The profile must be public. Then submit the prompt.
Step 4: Outdoo AI builds the persona
Outdoo AI reads the profile and generates a persona reflecting job title, responsibilities, company background, seniority level, and likely priorities. A VP of Operations at a manufacturing company will come through with a different tone, pace, and set of concerns than a first-line individual contributor.
Step 5: Add a resource for more specificity
Before you submit, you can also use Add Context > From Resources to attach a playbook or product document alongside the LinkedIn profile. Combining a real stakeholder's profile with your own materials produces a more specific simulation, for example a persona based on a named economic buyer who also raises the objections your team hears in real deals with similar companies.
Step 6: Customize the agent
The agent opens in the editor. Review the generated profile and adjust emotional tone, objections, preferences, and scenario details as needed.
Step 7: Add a scorecard
Attach a scorecard in the Scorecard section and add Roleplay Instructions so the roleplay produces scored, structured feedback.
Step 8: Publish and share
Click Publish and share the agent with the team members who need to prepare for this stakeholder or role.
Hope this article was helpful. For any queries, please write to support@outdoo.ai
Related articles
- Creating roleplay agents: overview
- Create a Roleplay Agent from a Prompt
- Create a Roleplay Agent from a File or Resource