
Create a Multi Persona Roleplay Agent
Learn how to create a multi-persona roleplay agent with 2-3 personas to simulate realistic group buying scenarios and complex sales conversations.
Step-by-step process
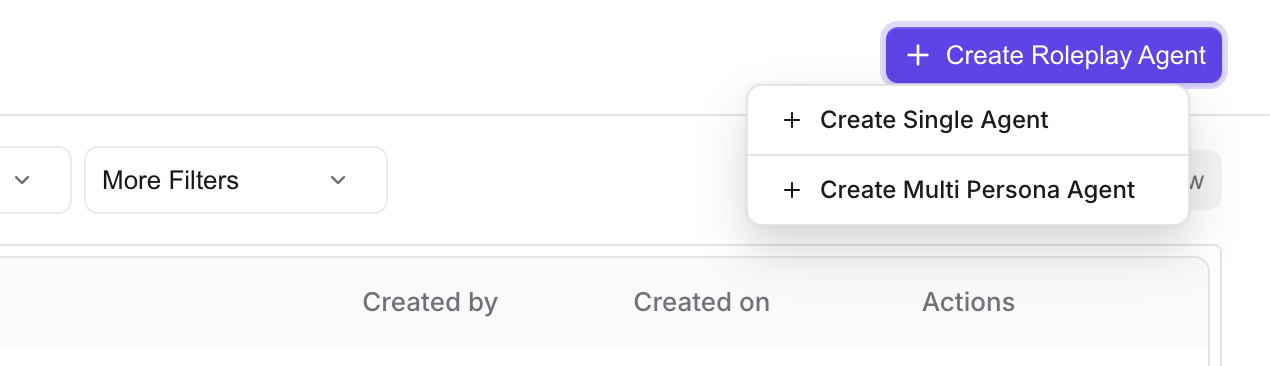
- Go to Roleplay Agents → Create Roleplay Agents.
- Choose Create Multi-Persona Agent.
- If you don't see this option, the feature may be disabled for your workspace.
- You'll be taken to the Multi-Persona Agent flow.
- Roleplay format:
- Set Group name: the name of the multi-persona agent, for example, "Enterprise Buying Committee."
- Set Roleplay type: for example, Discovery, QBR, or Custom.
- Set Scenario: pick or define the scenario so personas have clear context.
- Set Call type: usually Call or Video, depending on your product options.
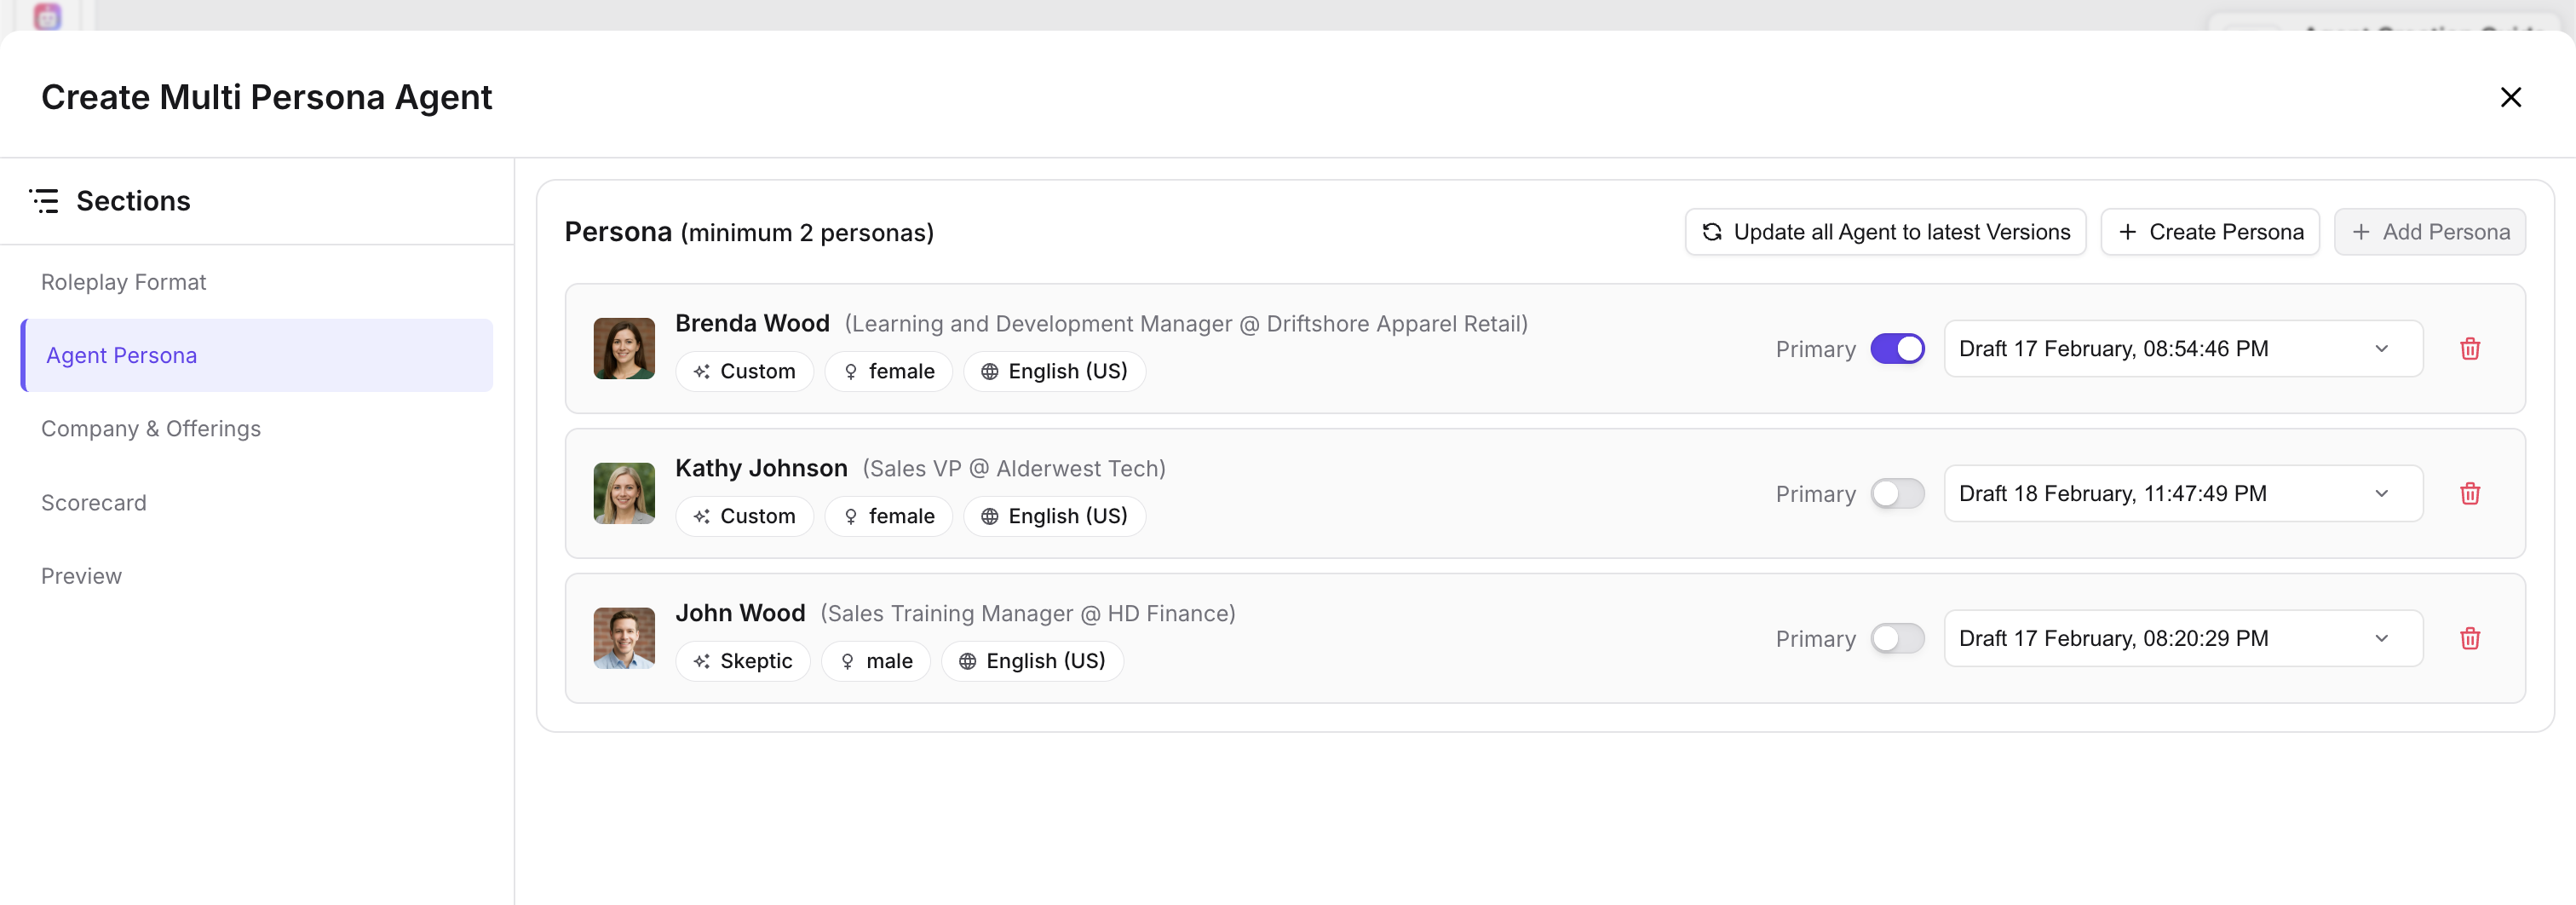
- Personas:
- Click Add persona and select existing buyer or agent bots from your library.
- Add at least 2 personas. You can add up to 3.
- Optionally set one persona as Primary, for example, the main decision-maker or lead in the conversation.
- Instructions to rep:
- Add instructions that describe the setting and any context the personas and the rep should know. This improves consistency and difficulty.
- Scorecard:
- Select the scorecard used to evaluate the rep's performance for this roleplay.
- Company or context (if available):
- Fill in company description, structure, or additional details so the personas can reference a consistent company in the conversation.
- Save as draft or publish when ready. After creation, you'll land on the Multi-Persona Detail page to edit or try the agent.
How to add or remove personas
- Open the multi-persona agent from the detail page or edit modal.
- Add a persona:
- Go to the Personas section.
- Click Add persona.
- Search or browse existing bots. Buyer or agent bots only; gatekeeper and other types may be excluded.
- Select one or more bots and confirm.
- You cannot exceed 3 personas. If you already have 3, you must remove one before adding another.
- Remove a persona:
- In the Personas section, find the persona and use the remove or delete action.
- If you remove the primary persona, the product may automatically set another persona as primary.
- Set primary persona:
- One persona can be marked as Primary for speaking order or scoring. Use the toggle or dropdown in the Personas section to set which bot is primary.
- Save your changes.
How to set scenario and instructions
- On the multi-persona agent's Roleplay Format section:
- Scenario: select or create a scenario that matches the use case, for example, "QBR with cross-functional team." This gives the personas shared context.
- Instructions to rep: enter a short description of the setting and any context, for example, "You're leading a QBR. The CFO is cost-focused; the CTO wants technical proof. Align on renewal and expansion."
- Use this to define clear roles: who is skeptical, who is supportive, what each persona cares about. This keeps the AI behavior consistent.
- Save. The scenario and instructions are used when the rep starts a practice session.
How to run a multi-persona roleplay
- From Roleplay (or Library), select a multi-persona agent. You'll often see a "multi-persona" or "multiple agents" indicator.
- Start the session using Try it or Start roleplay.
- You'll see two or three participant avatars or cards representing the personas.
- During the call:
- Speak to the group. Personas may respond individually or build on each other.
- Observe when personas address each other. Use this to practice interrupting, redirecting, and summarizing.
- After the call, review feedback and the scorecard. There is a single scorecard for the whole conversation.
How to edit an existing multi-persona agent
- Go to Roleplay → Agents and open the multi-persona agent, or open it from a folder or course.
- Use Edit or open the Multi-Persona Detail page to change:
- Group name, roleplay type, scenario, call type
- Personas (add, remove, set primary)
- Instructions to rep, scorecard, company details
- Edits are usually saved as a draft. Use Publish to make the updated agent available for practice.
Limitations to be aware of
- Maximum 3 personas per multi-persona agent.
- Personas must be selected from existing buyer or agent bots. You cannot create a brand-new persona inside the multi-persona flow.
- Multi-persona agents cannot be used in Call Blitz. Use standard roleplay or courses instead.
- There is a single scorecard for the entire multi-persona conversation, unlike gatekeeper roleplays which use separate scorecards.