
Create and Manage Workspaces
Learn how to create workspaces in Outdoo AI, assign users with appropriate permissions, and configure settings like trackers, scorecards, and call categories to match your team's needs.
Outdoo AI lets you set up workspaces to better organize your teams and data. Follow these steps to create a new workspace, assign users, and configure settings for your needs.
Step 1: Create a New Workspace
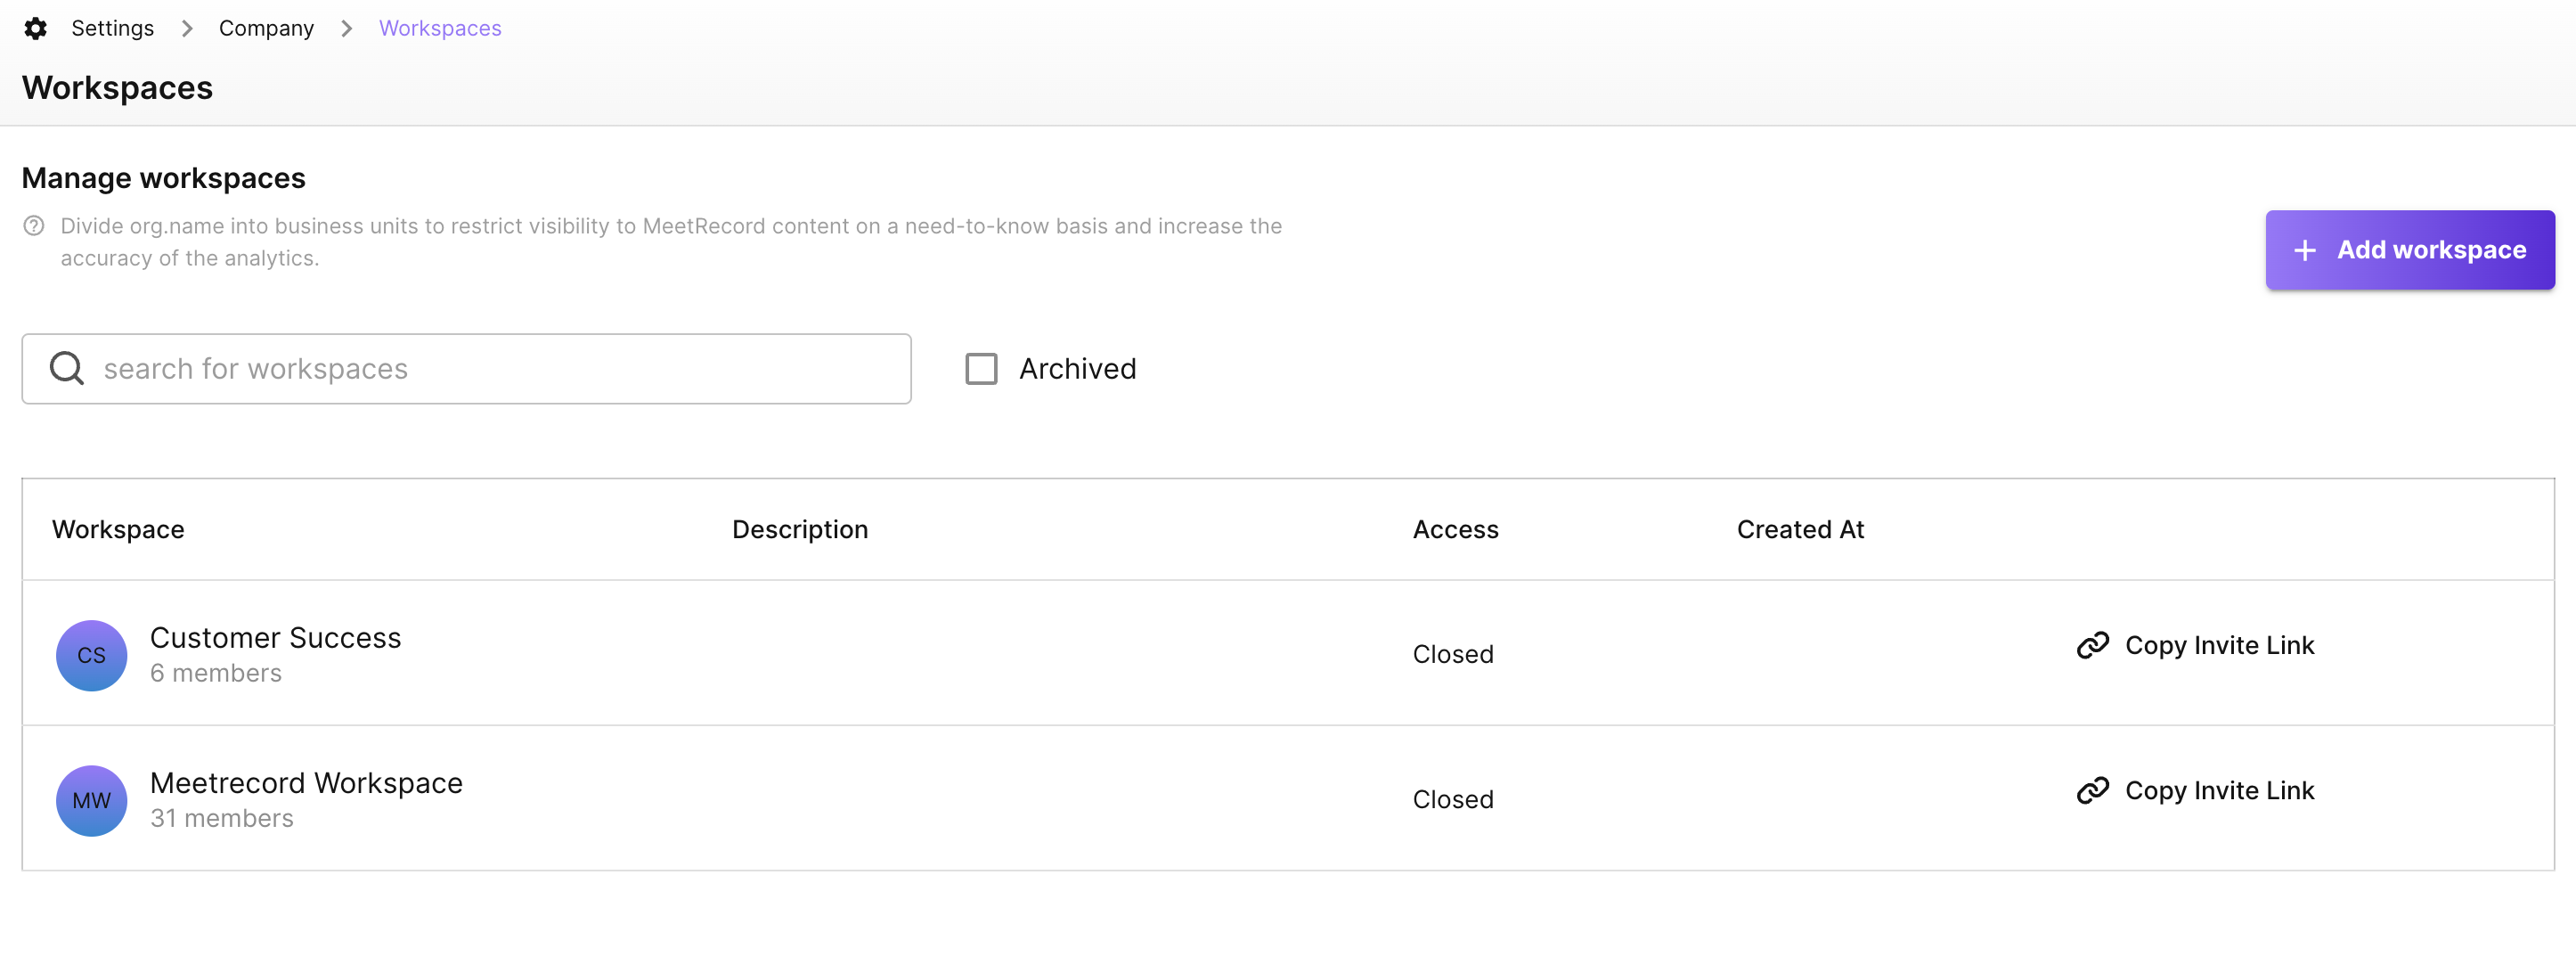
- Navigate to Company Settings > Manage Workspaces and click ADD WORKSPACE.
- Enter a Name and Description for the workspace.
- Click SAVE to create the workspace.
Step 2: Assign Users to the Workspace
Automatic Provisioning for New Users
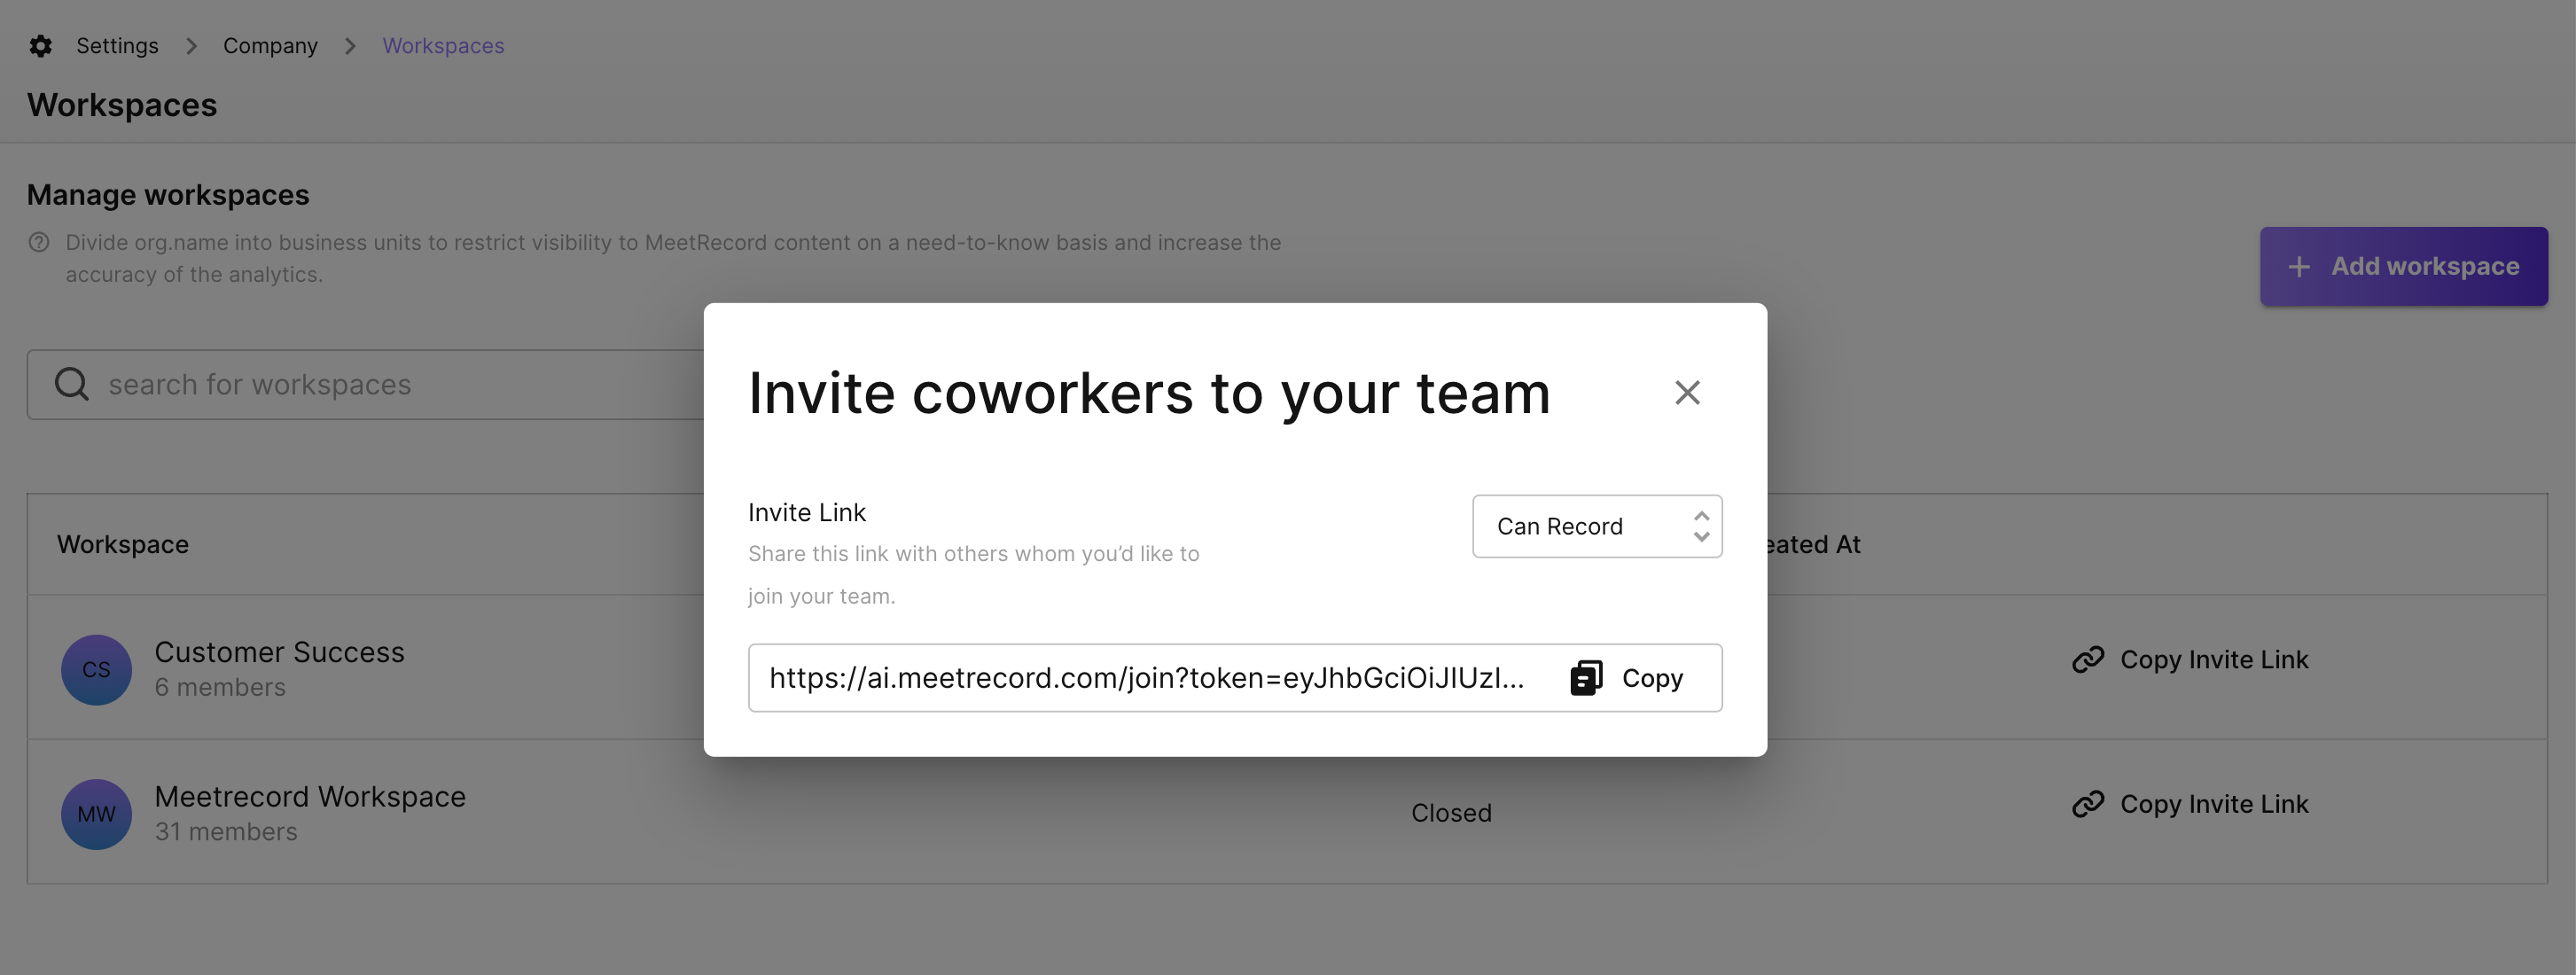
- Go to the Workspace Settings page and click Copy Invite Link.
- Select whether they can record calls or only view data, then share the link by email with the members.
Manual Provisioning for Existing Users
- In Company Settings, click Team Members.
- Update data capture and permission settings for the users you want to assign to the new workspace.
Step 3: Configure the New Workspace
Set up or update business-specific settings within the workspace to match your team's requirements:
- User Roles — define user roles and access levels.
- Trackers — create trackers for monitoring key terms or phrases.
- Call Categories — organize calls based on stages or business needs.
- Scorecards — set up evaluation templates for structured feedback.
- Custom Vocabulary — add terminology relevant to the workspace.
Note: For creating new topics or adjusting the data retention period, contact your Customer Success Manager (CSM) or Outdoo AI Support.
Benefits of a Well-Configured Workspace
- Organization — tailor workspaces for specific teams or use cases.
- Collaboration — assign users with appropriate permissions and access.
- Custom Insights — set trackers, scorecards, and other tools to match workspace goals.
- Data Compliance — adjust retention periods to meet regional or organizational policies.