
Add Roleplay Agents to Folders
Learn how to organize your roleplay agents into folders for easier management, sharing, and use in training programs and courses.
When to use folders
Folders are useful for:
- Sales enablement teams managing large content libraries
- Organizing agents for onboarding, bootcamps, or certifications
- Grouping agents by product line or segment
- Simplifying team access to the right agents
Steps to add agents to folders
Adding an agent to a folder takes just a few clicks from your agent library.
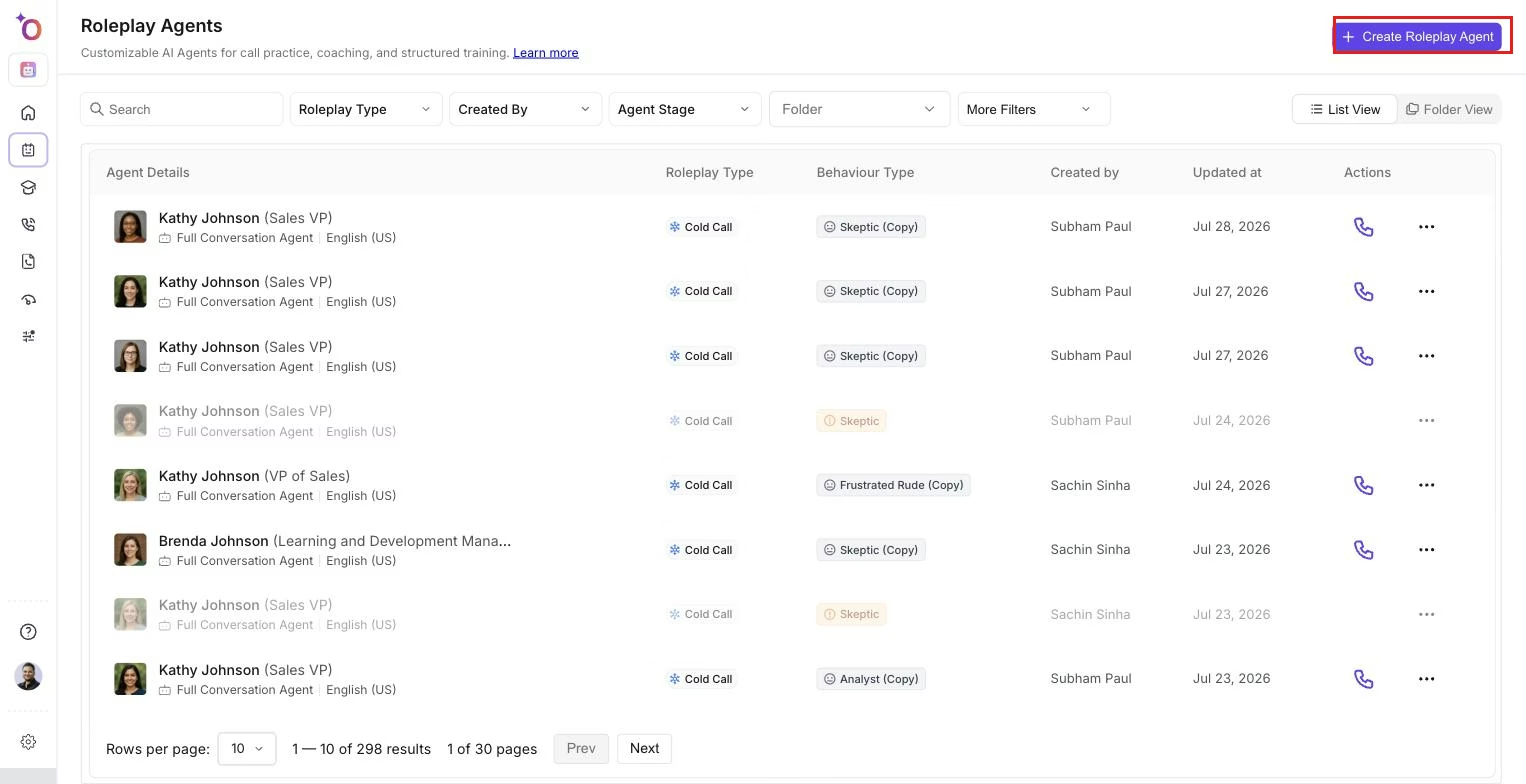 The Roleplay Agents list, where you locate the agent you want to move into a folder.
Step 1: Open your agent library
Find the agent you want to organize.
Step 2: Click the three-dot menu
Select Add to Folder.
Step 3: Select or create a folder
You can choose an existing folder or create a new one.
Step 4: Add and share
Once added, you can:
- Share the entire folder
- Use it in courses
- Organize large-scale enablement programs